Resource: A Necessary Creativity
WHAT YOU WILL NEED: For a 3″ x 3″ box
Decorative card stock (sturdy double sided ) cut to 10.5″ x 3 1/8″ (I used Parisian Breeze specialty dp from Stampin’ Up!)
Coordinating card stock (for inner box body) Cut to 6″ x 6″
Strong small magnets (Basic Grey magnetic snaps work well)
Adhesive
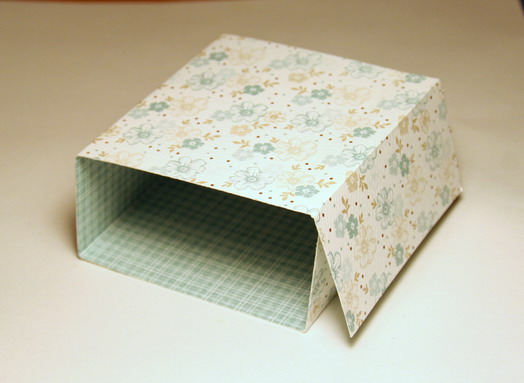
STEP 1: Score your 10.5″ decorative paper at 1.5″, 4.5″, 6″, and 9″ so it can fold as shown above.
STEP 2: Score your 6″ x 6″ card stock at 1.5″ in on all four sides.
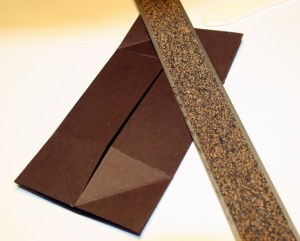
STEP 3: Fold two side in to meet at the middle, as shown above.
STEP 4: Score the four corners on the diagonal, as shown above.
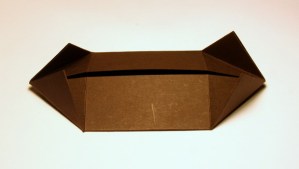
STEP5: Crease all scored lines well for easy folding.
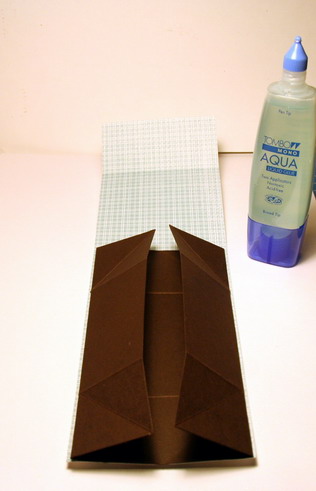
STEP 6: With long decorative paper laying flat (the side that you choose as the inside of your box facing up), place and adhere the inner box on top, lining it up just inside the the bottom edge. The score lines on both pieces will line up perfectly. See photo above.
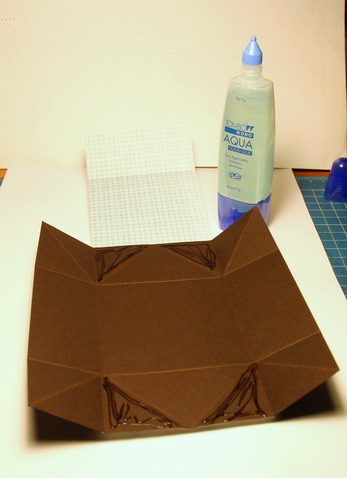
STEP 7: Once the two pieces are adhered together, open the folded edges and apply adhesive only to the outer four corners, as shown above. Close in the edges again to adhere well.
The magnet should be adhered to the center bottom (between the glued corners). The other magnet should be adhered to the top center flap. Sorry, no picture of this, but I think you get the idea. The top flap magnet is concealed behind the ribbon in the photo below.
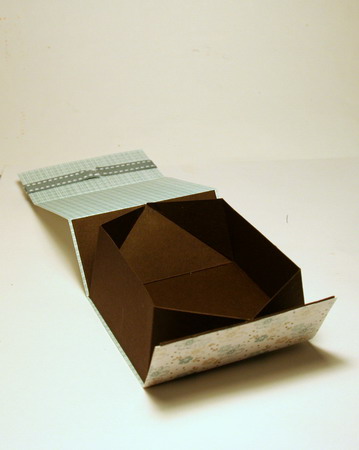
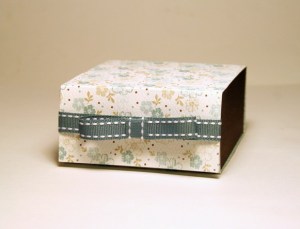
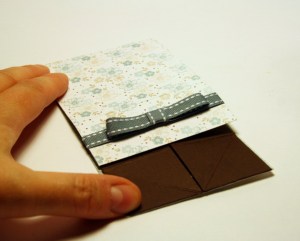
You can make 2.5″ x 2.5″ boxes by simply using DP cut to 8 3/4″ x 2 5/8″. Scored at 1 1/4″, 3 3/4″, 5, and 7 1/2″. The inner box piece would be 5″ x 5″. Scored at 1 1/4″ on all four sides.
I hope you enjoyed the tutorial. I tried to make this as clear and concise as possible. If you have any questions, feel free to ask!
Have a creative day and see you again soon!!

No comments:
Post a Comment