
I didn’t forget about you ladies. We’ve just had a lot going on.
Added: info to step 3.
Disclaimer: I’m not the best at following directions, including patterns. I sort of just dig in and work it out as I’m going. I’m sure there is probably a more professional way to go about this style of box but this is how I made it. So forgive me, if it’s a little confusing. I will try my best to make some sense out of all this. If you have any questions just let me know. With that said, let’s do it. And please do share with me, if any of you craft up some of these cute containers.
 Â
Â
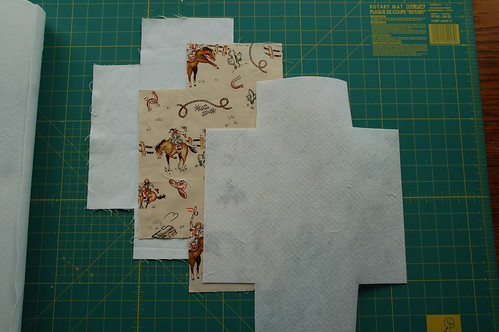
1) First decided what size of a container you want. This one will be 6″ X 9″. I went ahead an drew my pattern on the wrong side of the outside fabric. You can also just use a pattern you made out of paper. If your box is to be 6″ X 9″ make sure to add a 1/4″ to it. So my rectangle was 6 1/4″ by 9 1/4″. Then once you have the rectangle or square drew, then add the 4 side flaps. These will be your side walls. These are 3 1/4″ for a finished side of about 3″ tall. And when your done you will have a piece of outside fabric that looks similar to that in the above picture.
2) Now cut out your inside linning fabric. I use my first piece of fabric as a pattern. Trace it. Then add about a 1/4″ to a 1/2″ to the length of each of the 4 flaps. So it will make them a bit longer than the outside lining was. If you are wanting a larger amount of lining to over lap the edge of your finished box, then add more. This can be alter to what ever you want. More or Less over hang.
3) Now you need to cut another piece out of firm stabilizer. Use your first piece or paper pattern again. But this time cut about 1/2′ off of the 4 flaps. You don’t need the stabilizer to go all the way to the edges as you will be turning it down. Added: In the first fabric box I made I did not cut a 1/4″ off of the flaps sides (the V corners) but with this one I did. You can see in the picture of me sewing up the corners that the stabilizer is a little smaller than the inside lining fabric.  I’m not sure which is the best way if it matters. I will have to make a few more to see which way is the best way.
Confused yet? You should have 3 pieces now. The outside fabric that is close to your finished size. The inside lining fabric that has longer flaps than the outside fabric and stabilizer that has shorter flaps than the outside fabric.
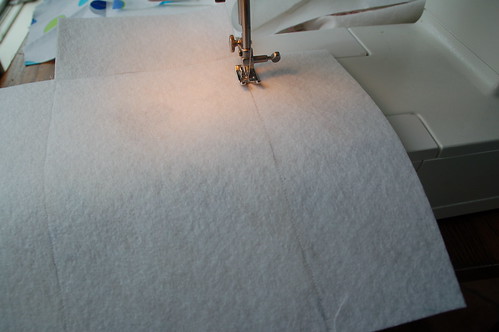
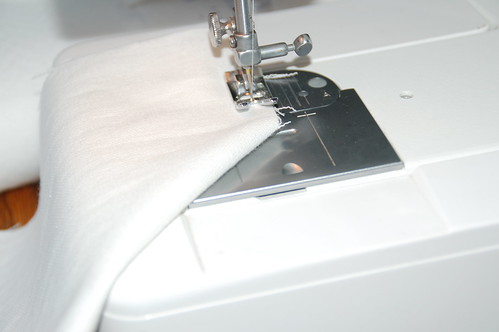
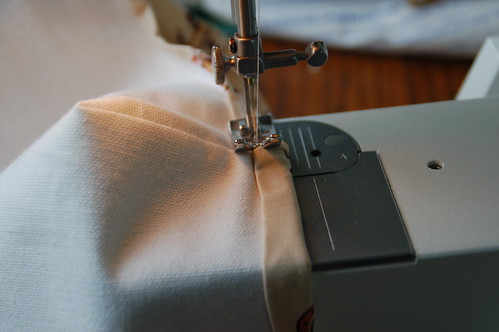
4) Now take your inside lining fabric and attach the stabilizer to the wrong side of the lining fabric. If you have the iron on kind, do that. I didn’t so I had to sew it on as well as help make the shape of the box bottom. Sew along where the box bottom dimensions are. See the picture below. Leaving the 4 side flaps alone. Make sure to keep the fabric nice and tight or you will end up with loose and wavey fabric like I did. I had a good excuse as I was having a very import conversation with a toddler that just had to help. It’s ok as this box is staying her with a horse loving girl.
 Â
Â
On to the corners…..
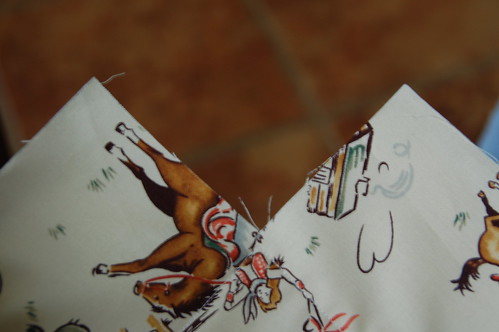
5) Now start turning it into a box shape. You take your inside lining fabric that has the stabilizer attached to it and put right sides together on the corners and sew them together (pic below). Do this to all 4 corners.
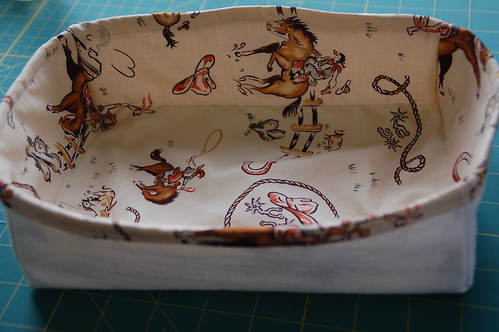
You will end up with up this.
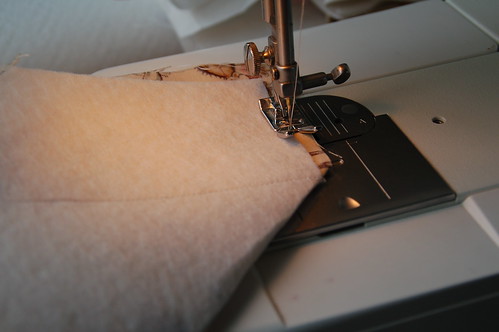
6) Now on to the ouside fabric. If you are wanting to embellish it or embroidery it, probably should do it now before sewing it up. Do the same thing with this piece of fabric as you just did with the lining. Corners Right sides together, sew them up. All 4 of them.When you are done. Turn it right sides out.Â
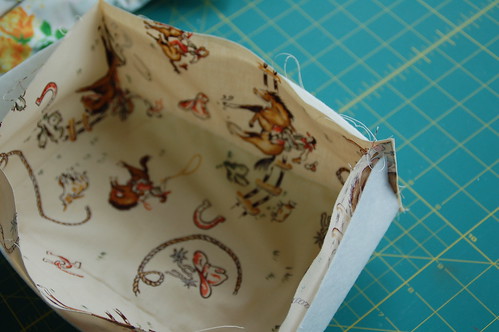
7) Take the lining box you made and place it inside the outside fabirc box that has the right sides out.  Work it around, there should be inside lining evenly sticking up above the outside fabric. Once you are happy with it. Pin it in place.
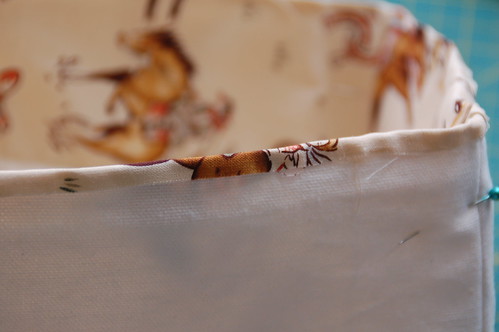
![]() You can turn it down once and sew it.  I didn’t want to see 2 seams so I turned mine down about a 1/4″ and glued it, using Fabric-Tac.  If you didn’t want to use glue because you will be sewing through this, you could opt for the iron on fusible web.Â
You can turn it down once and sew it.  I didn’t want to see 2 seams so I turned mine down about a 1/4″ and glued it, using Fabric-Tac.  If you didn’t want to use glue because you will be sewing through this, you could opt for the iron on fusible web.Â
 Â
Â
If you do use glue make sure it is completely dry before going on to the next step. And make sure to glue the corners nicely.
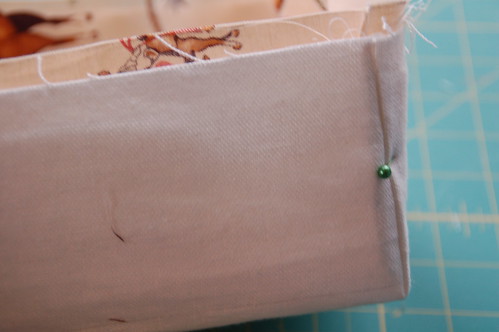
9)Turn it down on more time. How ever much you like. Sew it completely around like pictured below.
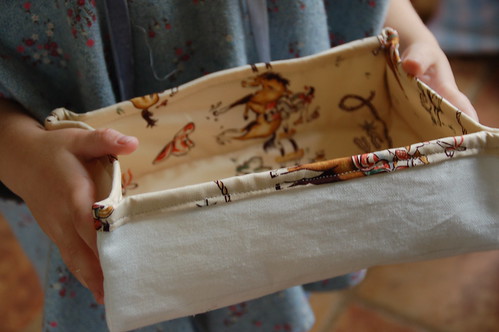
Now you have your box.
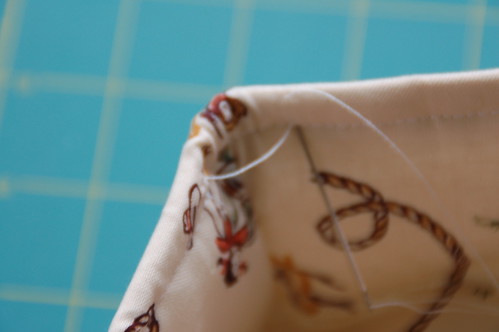
10)You can leave it like this or tighten up the sides, by sewing them like the picture below. Pinch the corners together to see where they meet and sew it up nice and tight. Using embroidery floss or a double thread is best.
And your finished and have a cute box to fill with goodies.

MUito bom! Gostei.
ReplyDeletegörüntülüshow
ReplyDeleteücretli show
O4N