
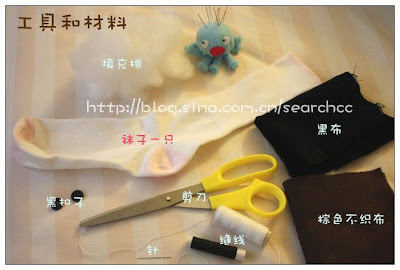
1、准备材料和工具:棉袜、针线、剪刀、填充棉、黑色扣子两只、棕色不织布、普通黑布一小块
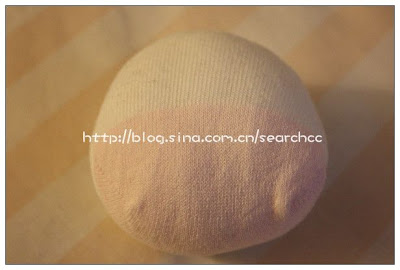
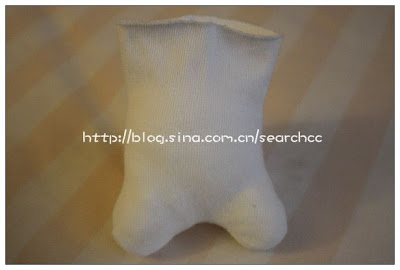
2、首先往袜子底部填入足量的棉花,剪下

3、把剪下来的袜底部分缩缝,抽紧;这就是小牛的头部
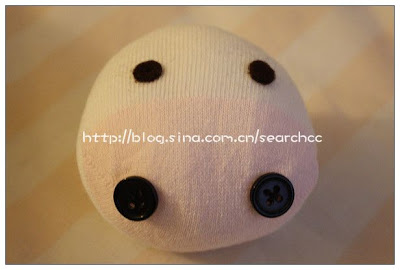
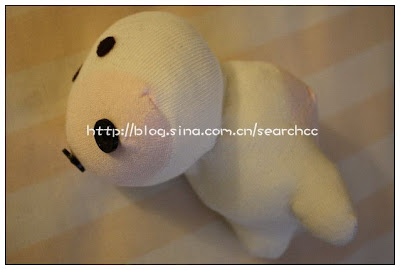
4、用棕色不织布剪成眼睛,黑色扣子作为鼻孔,缝在头上
5、把剩下的袜子如图画上小牛脚脚的形状

6、按照画好的记号,留一定的缝边,剪下
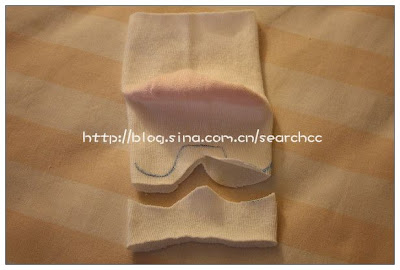
7、翻到袜子里边,沿记号线缝合

8、再翻到袜子正面,然后填入棉花,小牛的身体就做好了
9、把头和身体缝合
10、做小牛的胳膊
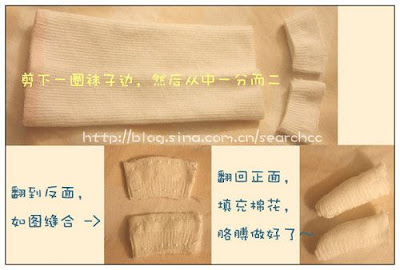
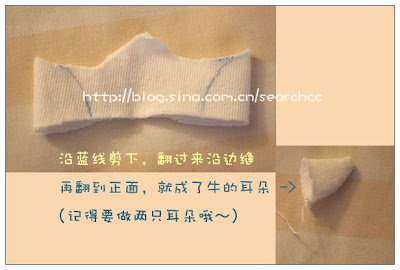
11、利用袜子剪剩的边角碎料,做两只小牛的耳朵
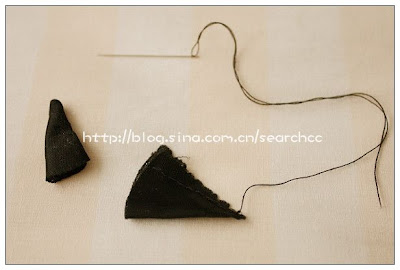
12、再剪两块三角形的黑色布,翻到反面对折缝合,这就是小牛的角~
13、最后,把小牛的胳膊缝到身体上,耳朵和角缝到头上,可爱的袜子小牛就大功告成了!
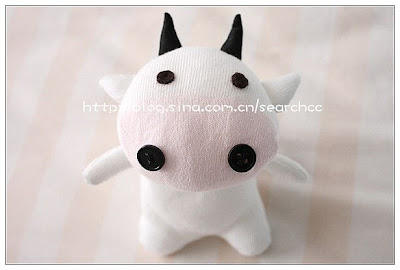
你学会了吗?试着亲手做一只小牛娃娃吧~做好了记得交作业哦~~
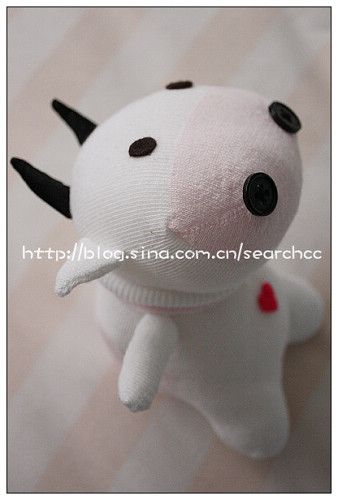
附注:如果你愿意的话,可以用红色不织布剪一个心,贴到小牛肚子上,还可以给小牛加一个“项圈”(从袜子上剪下一圈,套到小牛的脖子上即可),让小牛更加可爱~~

No comments:
Post a Comment