One of the 171 blogs that I read regularly posted a pic of a lovely coaster she had made. To help break up the quilting on the Green Road quilt I decided to give it a whirl with some of my scraps.
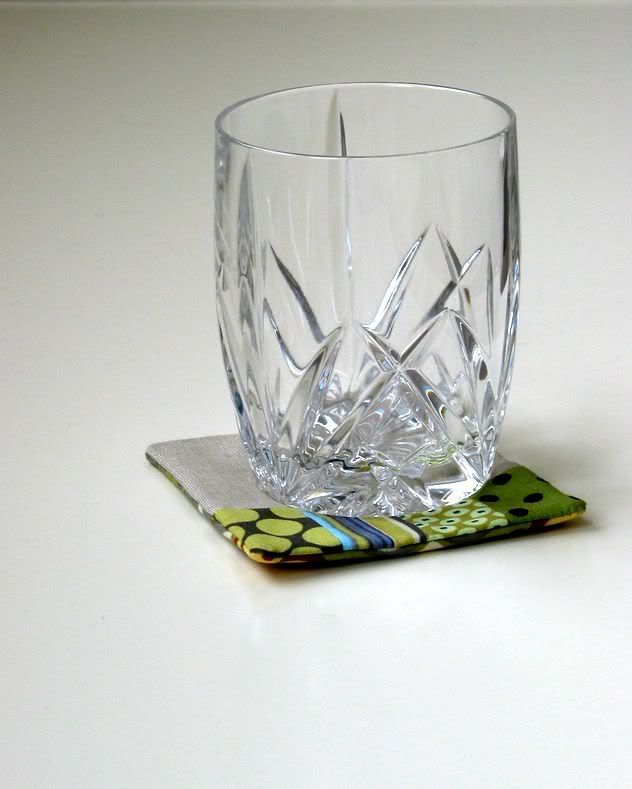
I’m just tickled with them and thought I’d share how I put them together. They go together lightening fast and I could see making these as last-minute gifts. Read the full post if you’d like to give ‘em a whirl.
::simple coasters::
Two caveats:
I’m not a tutorial writer, so let me know if I’m not explaining something clearly.
I’m probably making a mockery of any proper sewing techniques. This worked for me…but apologies to real stitchers.
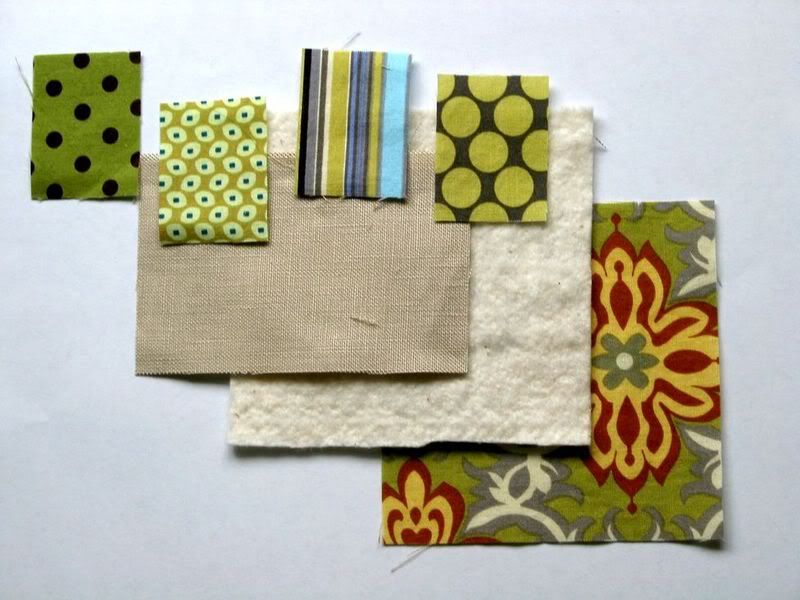
For each coaster you will need:
- 1 back square – 4.5″x4.5″
- 4 accent rectangles – 1.5″x2″ (this is an awesome project for those little scraps you can’t bear to toss)
- 1 top rectangle – 4.5″x3″ (I’m using linen, but cotton would be fine too)
- 1 low-loft batting square – ~4.5″x4.5″ (I used 100% cotton)
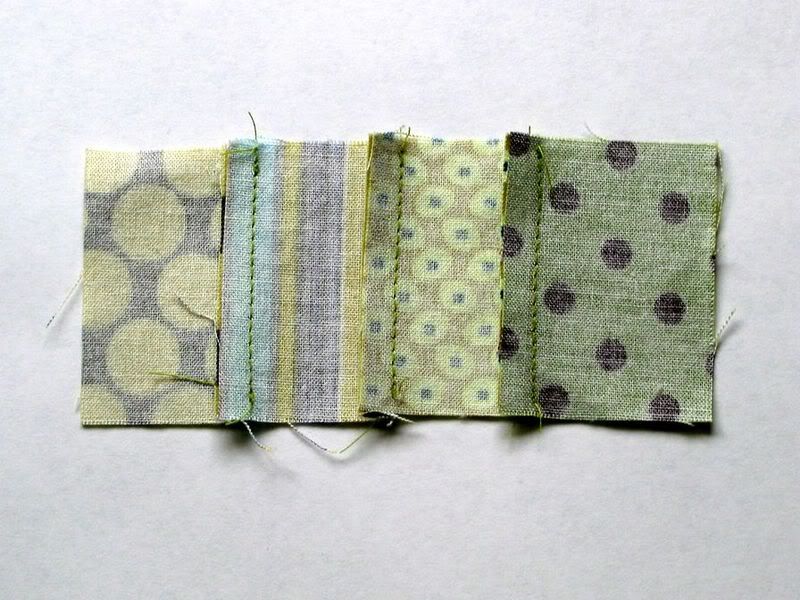
Sew the accent rectangles into a row (with long sides together). Press seams in one direction.
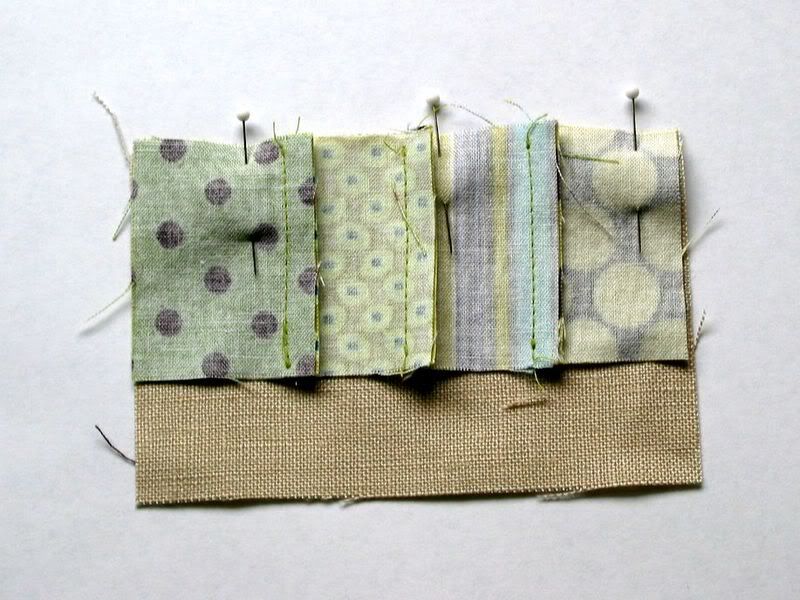
Pin the right side of the top rectangle and the accent row together. Sew.
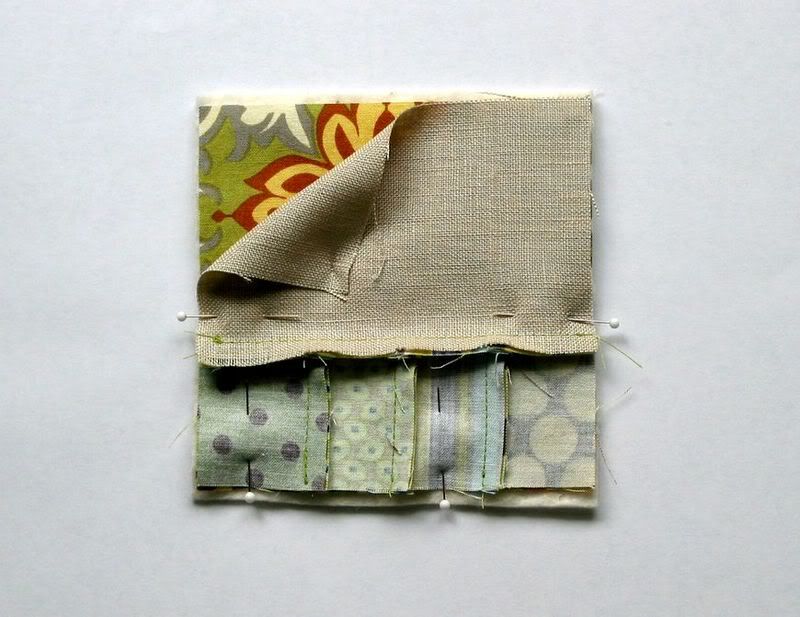
Lay back fabric over the batting (wrong side to the batting).
Place coaster top face down on top fo the backing fabric and pin.
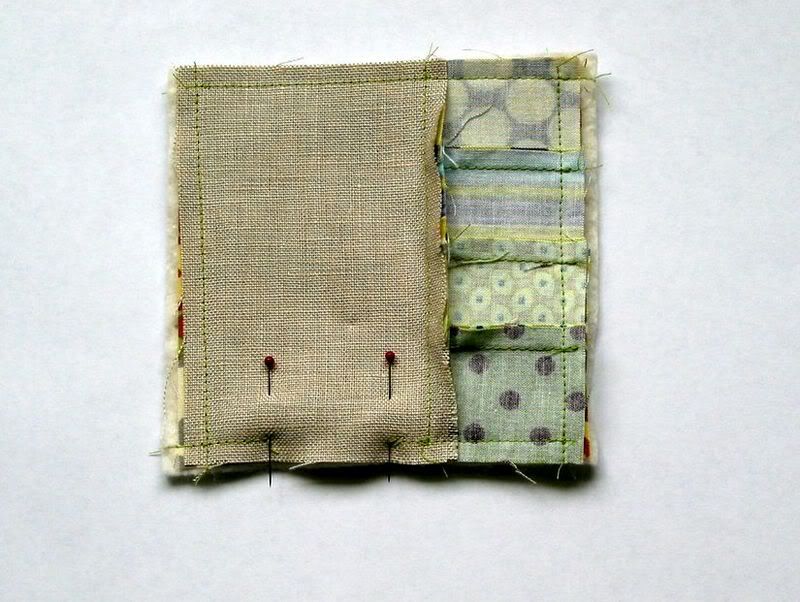
Sew around the edge leaving a 1.5″ gap for turning.
Make sure to reinforce your stitches at the corners and at either edge of the turning gap.
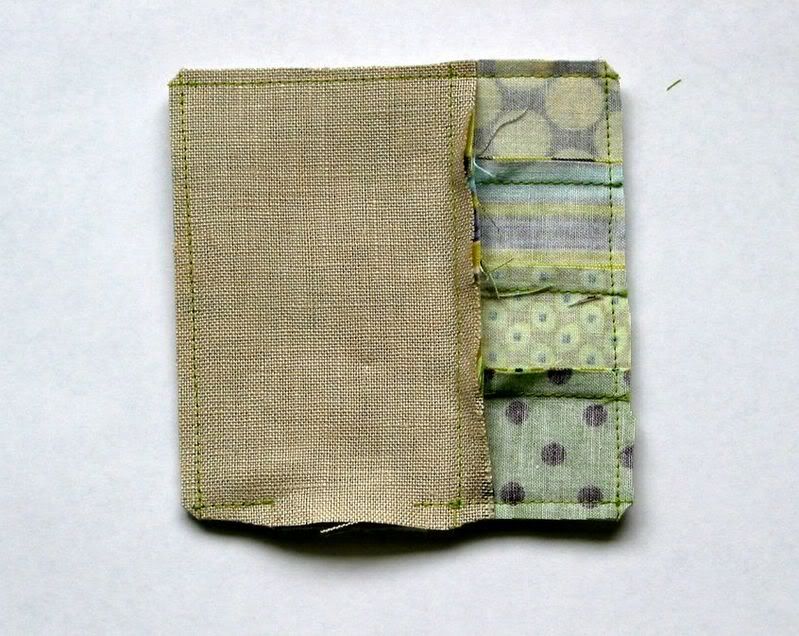
Clip corners and trim seam allowance to approx. 1/8″ on the three closed sides.
On the side with the turning gap, trim the batting even with the fabric but don’t trim the fabric especially at the gap (you’ll need that to sew it closed.)
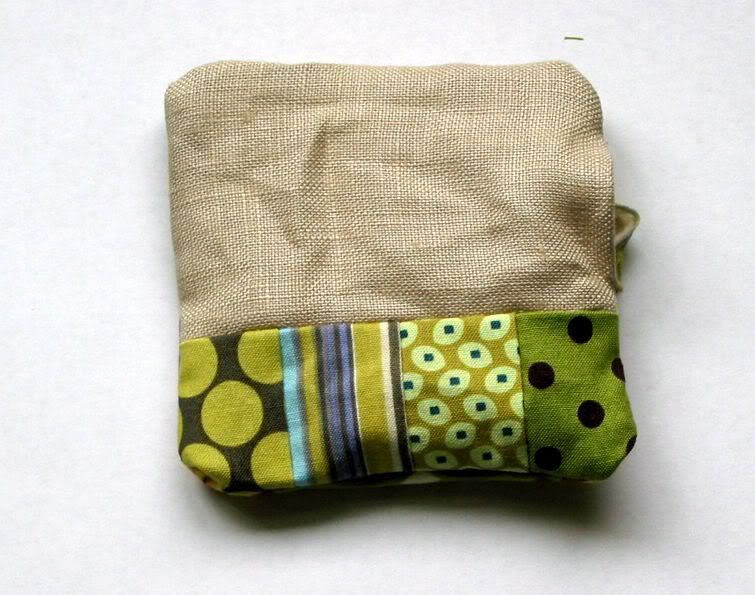
Turn your coaster right-side out.
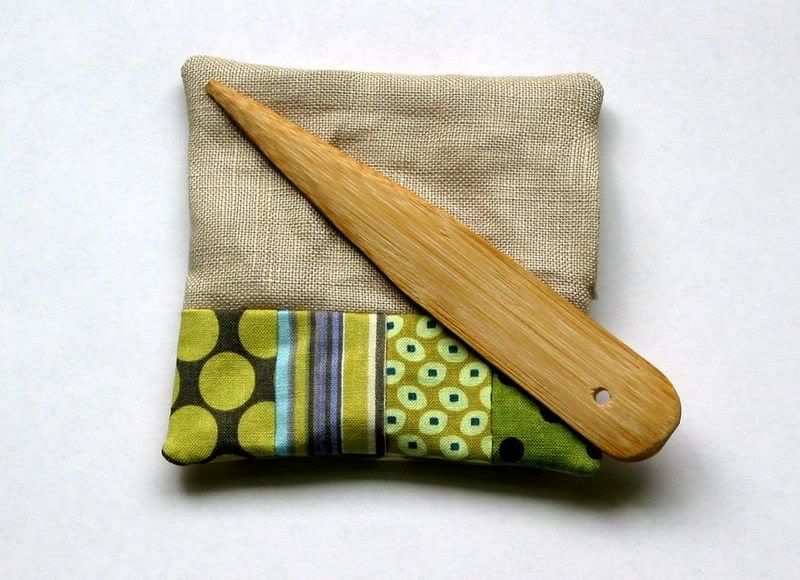
And use a corner tool or a chopstick to press out the corners into nice points.
Tuck in the edges of the turning gap so they’re flush with the rest of the coaster edge and press.
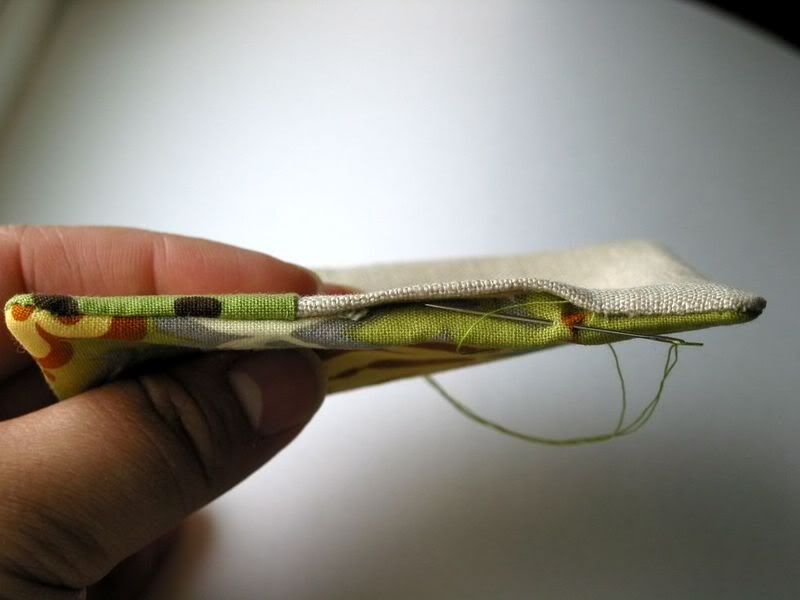
Hand sew the turning gap closed using an invisible stitch.
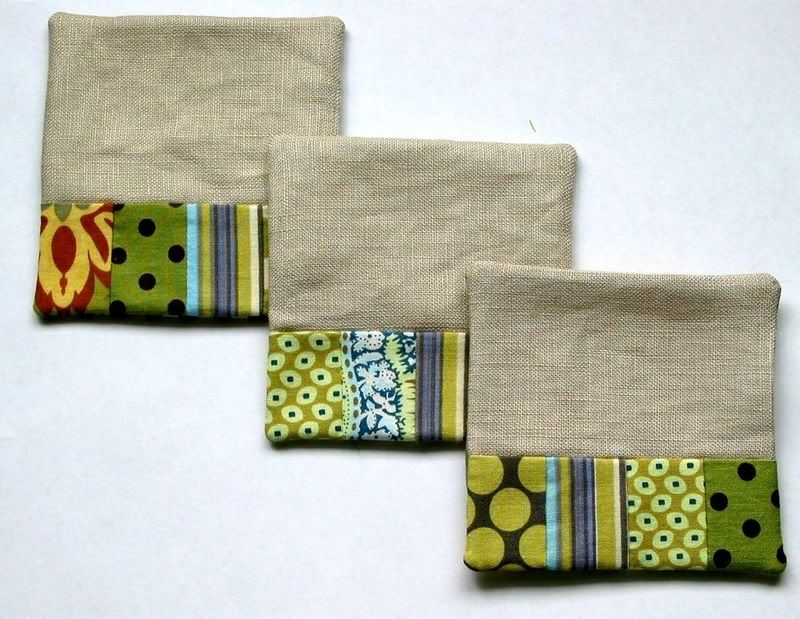
Ta-da!
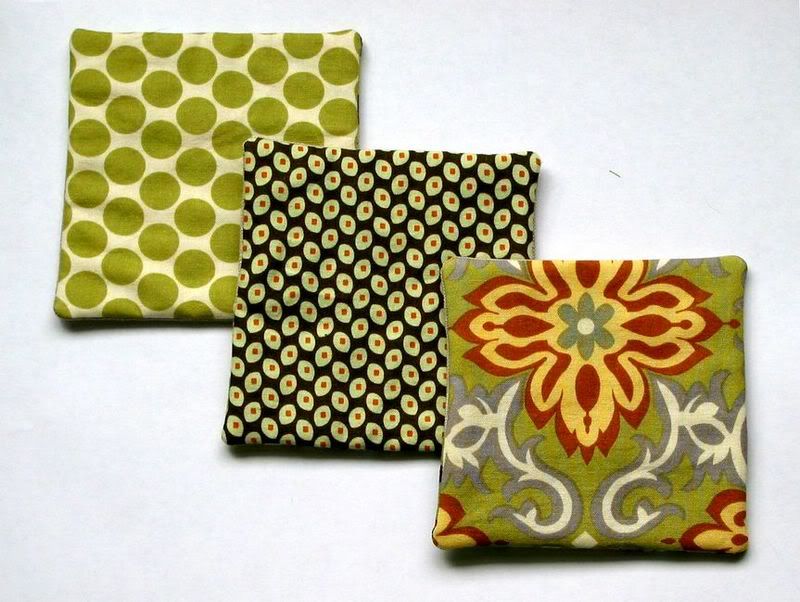
And they’re reversible!
Enjoy.

No comments:
Post a Comment