Showing posts with label Quilt Coaster. Show all posts

Wednesday, September 2, 2009

simple coasters

Resource: Foofanangle

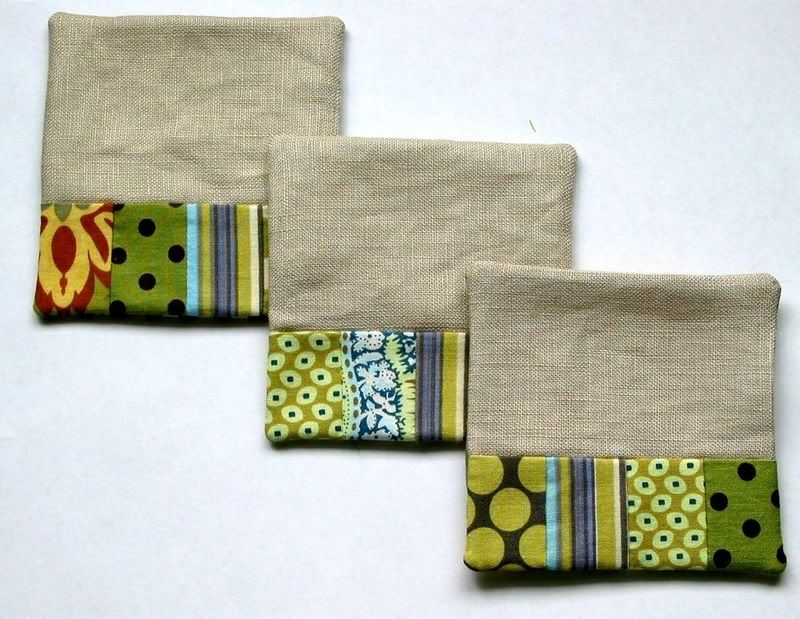
One of the 171 blogs that I read regularly posted a pic of a lovely coaster she had made. To help break up the quilting on the Green Road quilt I decided to give it a whirl with some of my scraps.
none
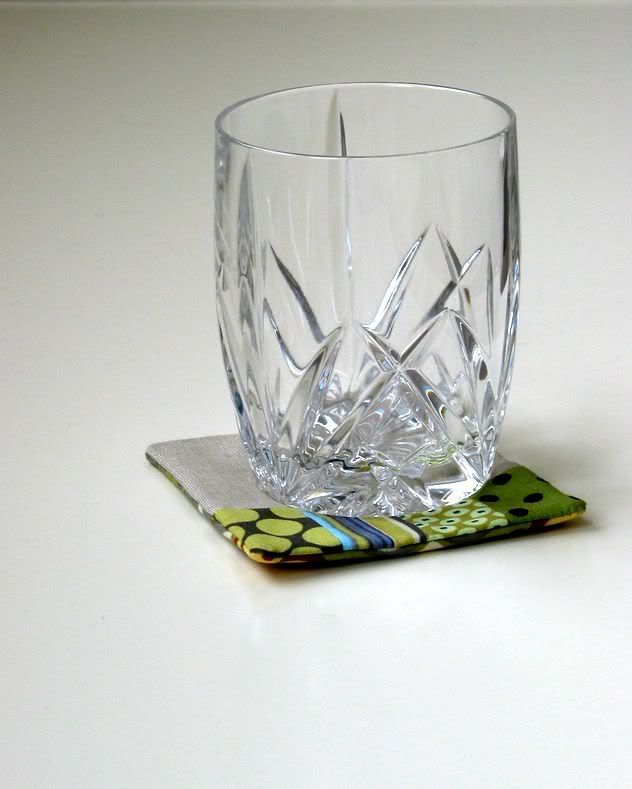
I’m just tickled with them and thought I’d share how I put them together. They go together lightening fast and I could see making these as last-minute gifts. Read the full post if you’d like to give ‘em a whirl.
::simple coasters::
Two caveats:
I’m not a tutorial writer, so let me know if I’m not explaining something clearly.
I’m probably making a mockery of any proper sewing techniques. This worked for me…but apologies to real stitchers.
none
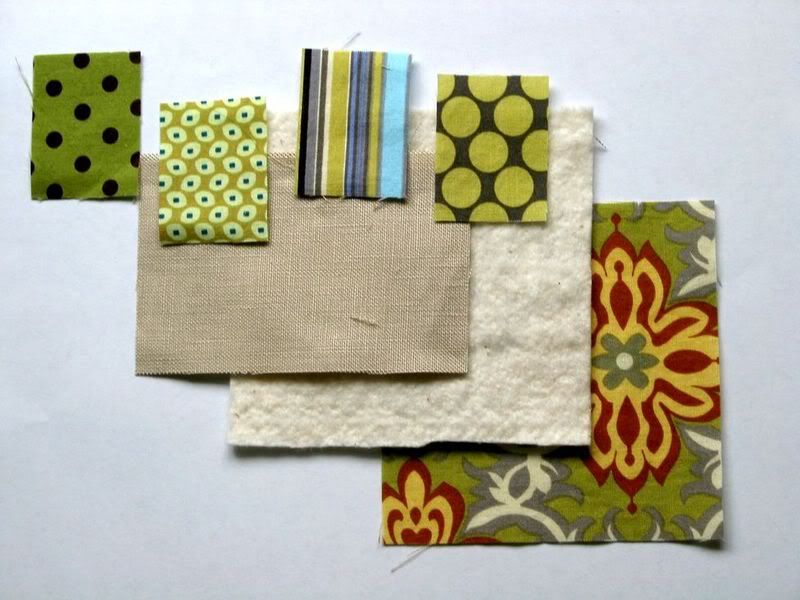
For each coaster you will need:
  • 1 back square – 4.5″x4.5″
  • 4 accent rectangles – 1.5″x2″ (this is an awesome project for those little scraps you can’t bear to toss)
  • 1 top rectangle – 4.5″x3″ (I’m using linen, but cotton would be fine too)
  • 1 low-loft batting square – ~4.5″x4.5″ (I used 100% cotton)
(Measurements include 1/4 in. seam allowance. All seams sewn with 1/4 in. seam allowance)none
Sew the accent rectangles into a row (with long sides together). Press seams in one direction.
none
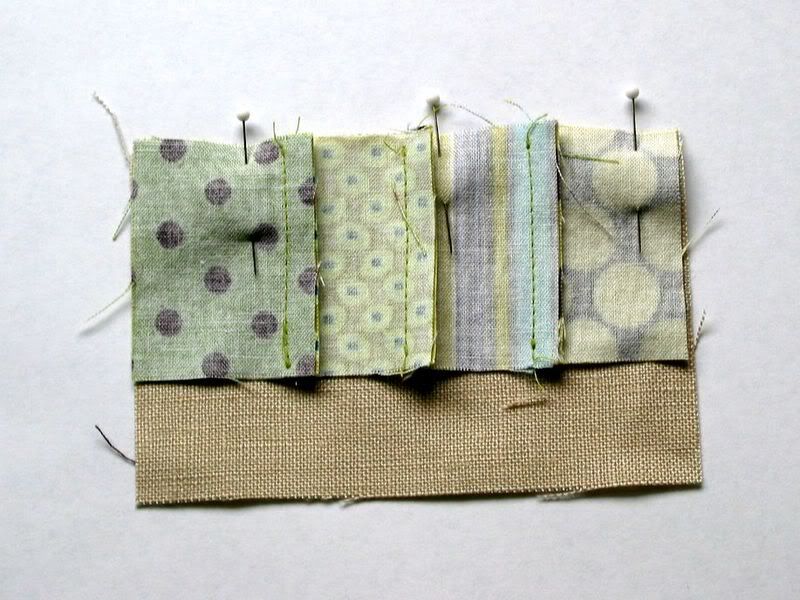
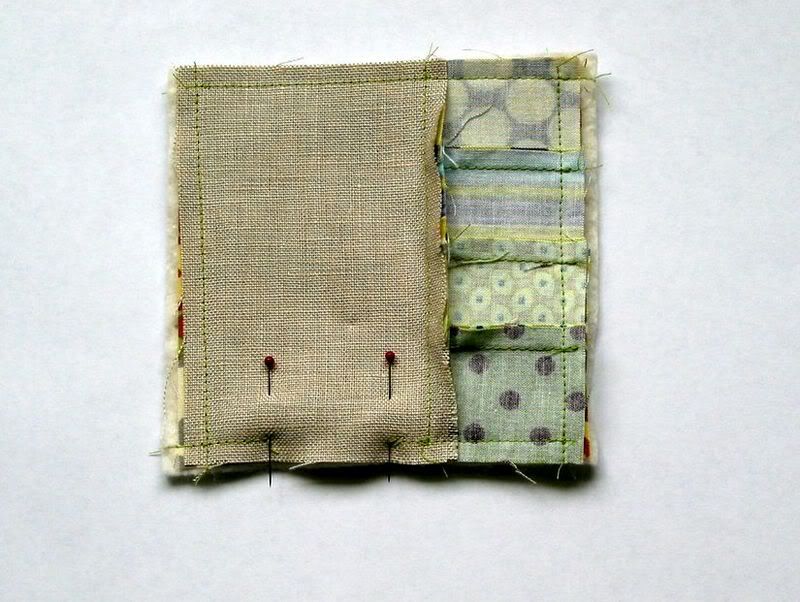
Pin the right side of the top rectangle and the accent row together. Sew.
none
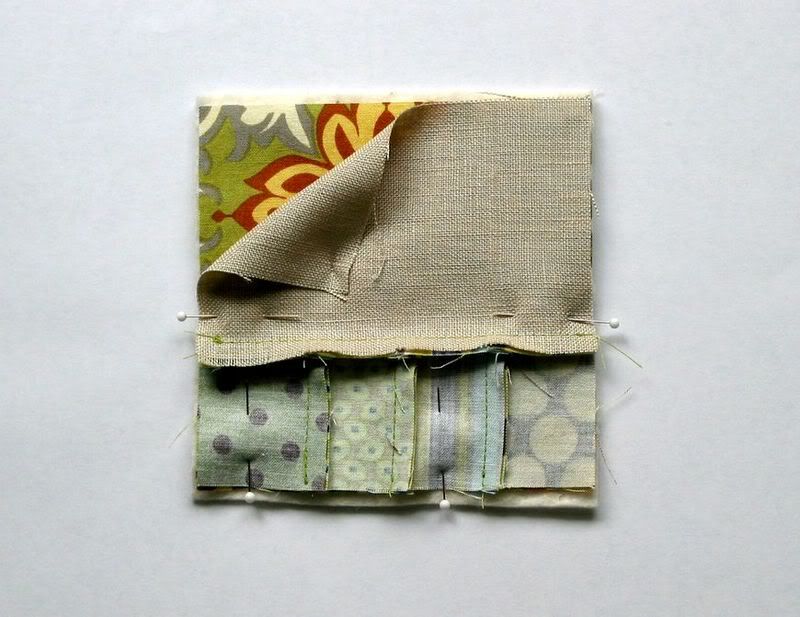
Lay back fabric over the batting (wrong side to the batting).
Place coaster top face down on top fo the backing fabric and pin.
none
Sew around the edge leaving a 1.5″ gap for turning.
Make sure to reinforce your stitches at the corners and at either edge of the turning gap.
none
Clip corners and trim seam allowance to approx. 1/8″ on the three closed sides.
On the side with the turning gap, trim the batting even with the fabric but don’t trim the fabric especially at the gap (you’ll need that to sew it closed.)
none
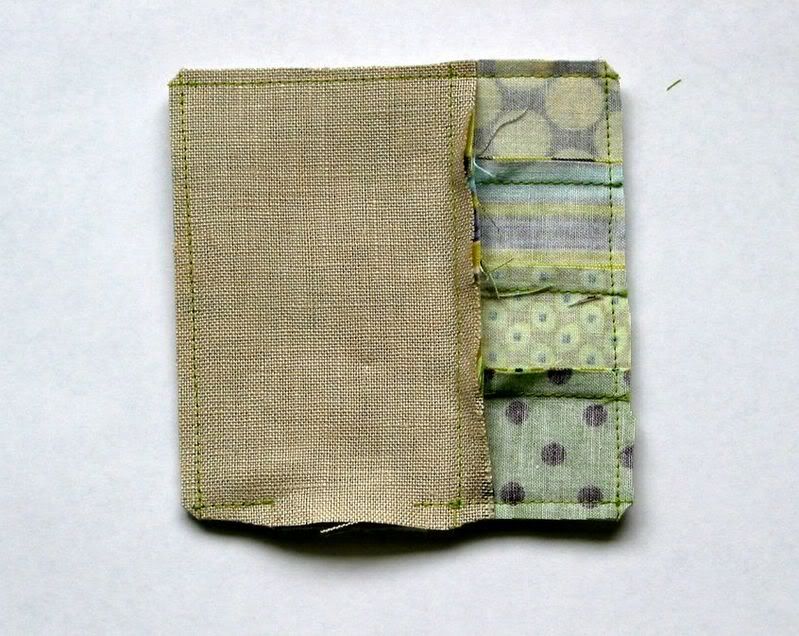
Turn your coaster right-side out.
none
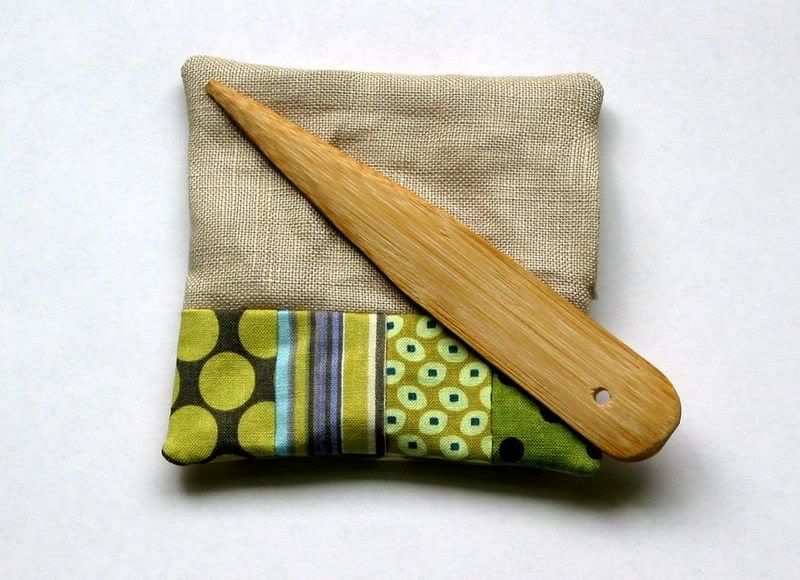
And use a corner tool or a chopstick to press out the corners into nice points.
Tuck in the edges of the turning gap so they’re flush with the rest of the coaster edge and press.
none
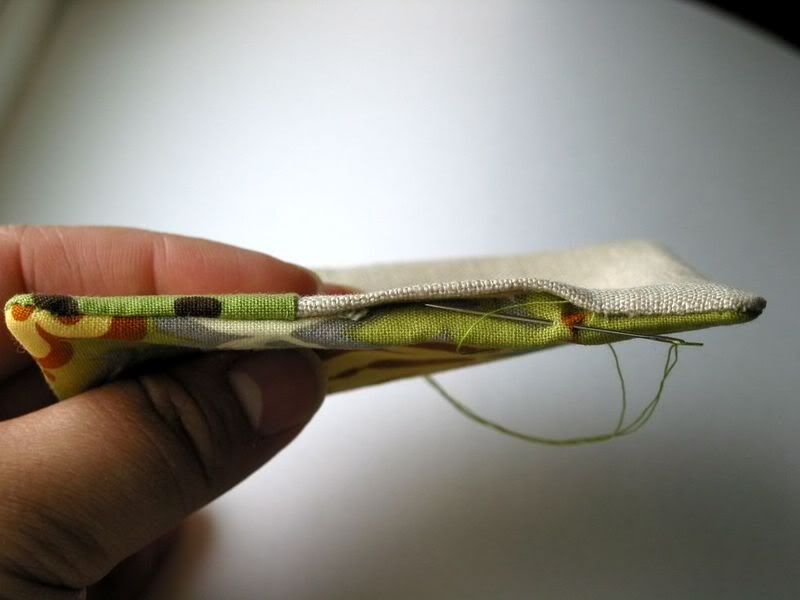
Hand sew the turning gap closed using an invisible stitch.
none
Ta-da!
none
And they’re reversible!
Enjoy.

Tuesday, August 25, 2009

Coaster

IMG_3079 Another tutorial! Yea! I made some of these for (again) my friend for her birthday. She took a picture this morning for our week of mornings using one of them. I love making stuff for her! They are quick and easy. So try some!
IMG_3000 IMG_3004
IMG_3005 IMG_3008
IMG_3016 IMG_3017
IMG_3025 IMG_3029
Directions
1. Cut out your fabric for the top and bottom, and a piece of batting to sandwich between, 4” square. Gather scraps, at least as big as the area you want to show through on top. I cut my scraps to 4” square, also.
2. Draw your design, to be cut out after sewing, on the backside of the scrap fabric.
3. Place the right side of your scrap fabric to the wrong side of the top fabric. Sew around your design 3 or 4 times. Have fun – don’t be too accurate!
4. Cut out your design from the top fabric, staying within the lines of your sewing. I used my Gingher appliqué scissors. (You’ve just done reverse machine appliqué!)
5. Layer your pieces together as follows: bottom: wrong side up, batting, top: right side up.
6. Stitch once around design to secure pieces. Stitch around edge of whole coaster, approximately 1/4” from the edge.
7. Using pinking shears or a pinking rotary cutter, cut the edges of your coaster.
I lined up a ruler with the 1/8” mark on my edge stitching and cut with a rotary pinking blade. Be sure to keep your coaster somewhat square during this process.
8. Grab a glass and enjoy your new coaster!
IMG_3077
That was so easy, wasn’t it!?! So go make some more! And add photos to my Flickr Group!

Felt supply 不织布出售 (taking orders now~)

After seeing so many felt handcraft and you wish to make some for yourself and friends but do not know where to get the felt supply?!
I'm please to announce that I'm providing this service.^^
Measurement: approximately 9" x 12"
Price: RM1.70 per piece (0.55 USD)
Minimum order is 5 pieces of felt and the colors are as follow:

Click here to view larger picture.
When you place the order, please indicate the number of pieces for each felt color.
看了那么多的不织布手工和教程, 是不是也引起你的兴趣想给自己或朋友做一个? 是不是不知道要到那里购买不织布呢? 呵呵, 这一回你们不用再烦恼啦!! 从今天开始我就提供不织布销售服务, 解决你的烦恼:)
尺寸: 大约 9 X 12 寸
价钱: 一张 RM1.70 (0.55美金)
每次定购最少5 张, 订购时请清楚地例出购买的颜色和张数
颜色名称请参考上面的图画。更清晰的照片请看这里
P/S: E6 - out of stock E6 - 缺货
Please place your order here. Shipping method please see here.